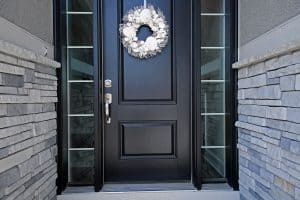
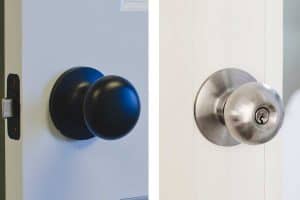
Do you have a Larson door handle at home that you badly need to replace because it got broken? You can let a professional do the job or save on money by doing DIY. If you prefer the latter, then you're in the right place! We've searched and asked the experts to provide for you the how-tos.
Here is the step-by-step procedure for the proper installation of a Larson storm door handle:
- Position the template.
- Push the template securely and drill pilot holes.
- Place the body of the lock into the lock spot.
- Install the deadbolt spindle into the lock body.
- The outer face plate funnels must be aligned.
- Install the door handle spindle.
- Place the strike plate in the latch rail.
Following installation steps can sometimes be confusing. To help you understand each step, read further as we elaborate on the topic. You'll also learn more about storm door handles as we answer related questions along the way.

Installing A Larson Storm Door Handle
Before you begin with the steps, make sure to prepare the needed tools for the task. You'll need a power drill, chisel, and a 3/32-inch drill bit. The Allen wrench and spade bit are already provided in the " data-type="URL" data-id="">QuickFit kit. You can also wear a set of safety gloves for your hands' protection.

Step 1. Position the QuickFit template
Your storm door handle template is usually found on the QuickFit hardware kit. Once found, slide the template into your door frame. Align the template's arrow mark on the door's notch.
Step 2. Push the template securely and drill pilot holes
While pushing the template securely, puncture 3/32-inch pilot holes on the circles that are labeled DRILL using your power drill. Take note that there are usually four pilot holes that must be drilled on each side. Repeat step on the other side of the template.
Now, remove the template and drill the pilot holes using the spade bit to make them bigger. Again, repeat the step on the other side of the door.
Step 3. Place the lock body into the lock slot
Unfasten the top screw and put it aside to be used later on in the final steps.
For the left hinge door, loosen the top and bottom screws. Push in and rotate the latch bolt. Once done, tighten the top and bottom screws.
Now, install the lock body into the slot and push it down to secure it in place.
Step 4. Install the deadbolt spindle
Extend the deadbolt and turn the knob in a quarter position. Install the deadbolt spindle on the lock body. Make sure that you insert the screws on the inner faceplate through the door.
Step 5. Align outer face plate funnels
Align the outer faceplate funnels with screws. Insert the spindle inside the key cylinder and loosely tighten the screws using your fingers on the interior side.
Step 6. Install the door handle spindle
Now, it's time to insert the spindle into the lock and through the other side handle. Ensure that the handles are in a horizontal position. Next, fasten the set screw using the provided Allen wrench or key.
Tighten both inner faceplate screws. Now, this is the time to use the lock body screw that you earlier set aside. Fasten and tighten the lock body screw into place.
Step 7. Install the strike plate in the latch rail
Take note that in this step, if your latch rail doesn't have clearance behind to give room for the extension of the latch and deadbolt installation, you can use a chisel to create a space behind both notches. The clearance pocket must be 1/2-inch deep.
Now, you must align the holes and screws found in the latch rail and strike plate respectively. Tighten the screws to secure the latch rail in place.
You can watch the video below for reference:
Since you're now familiar with how to install a storm door handle, you must have thought of how to take the handle off or disassemble it in case you want to replace it or if you want to relocate it on the opposite side.
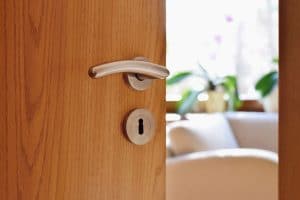
How do you take the handle off a Larson storm door?
The steps below will guide you on how to properly take the handle off a Larson storm door:
- The first step that you need to do is to loosen the set screw on your interior door handle using the L-part of your Allen wrench.
- Once the interior door handle is pulled off the lock body, unfasten the top and bottom screws that secures the latch assembly to the door. Set the screws aside.
- Unbolt the remaining screw just above the bottom screw.
- Pull the deadbolt assembly out from the lock body using your fingers.
- Unfasten the top and bottom screws in the interior faceplate to detach it entirely.
- Now that there's nothing holding the exterior faceplate, pull that out entirely and the outer door handle.
Watch the video below for your reference:
At this point, you now have an idea of how to install and remove your Larson door handle. But since a lot are still confused as to what side of the storm door the handle goes on, it's better to tackle it once and for all.
What side does the storm door handle go on?
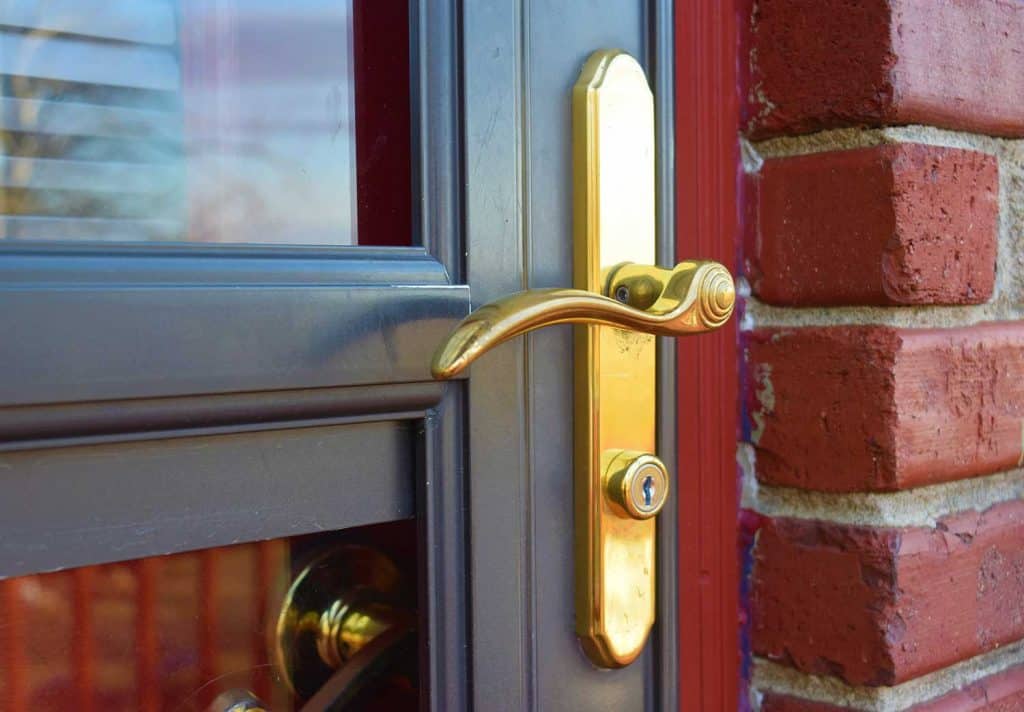
The answer would depend on your preference. If you want your storm door handle to be located on the opposite side of your entry door handle because of convenience, you can do that.
However, the rule of thumb for the installation of door handles is that your storm door handle should be on the same side as your entry door.
How do you tighten a Larson storm door handle?
To tighten a Larson storm door handle, secure the set screw firmly using an Alley wrench or key. A set screw is located at the bottom edge of the storm door handle.
Does Larson storm door come with hardware?
Most Larson storm doors don't come with hardware. If you buy a storm door from Larson, the handles and other parts are sold separately.
However, some door models like Lifestyle full view, mid view, high view, and Life-core mid view offer door handle inclusions.
In Closing
A Larson storm door handle is sold separately from the door itself. You can buy it through an installation kit. The installation of a storm door handle is quite easy provided the needed tools are readily available.
The first step is to insert the template into your storm door's frame. Drill on pilot holes and afterward, expand the holes using a spade bit. Place the lock body into the lock slot and fasten the screws to hold it. Now, insert the spindle into the lock body all the way to the other side of the door.
Align the outer faceplate funnels and install the door handle spindle. Screw in the bolts that need to be fastened. And lastly, install the strike plate into the latch rail and tighten the screws to hold it in place.
Do you want to learn more about how to maintain your door handle and fix minor problems? Check these posts out for tips on proper door handle maintenance: