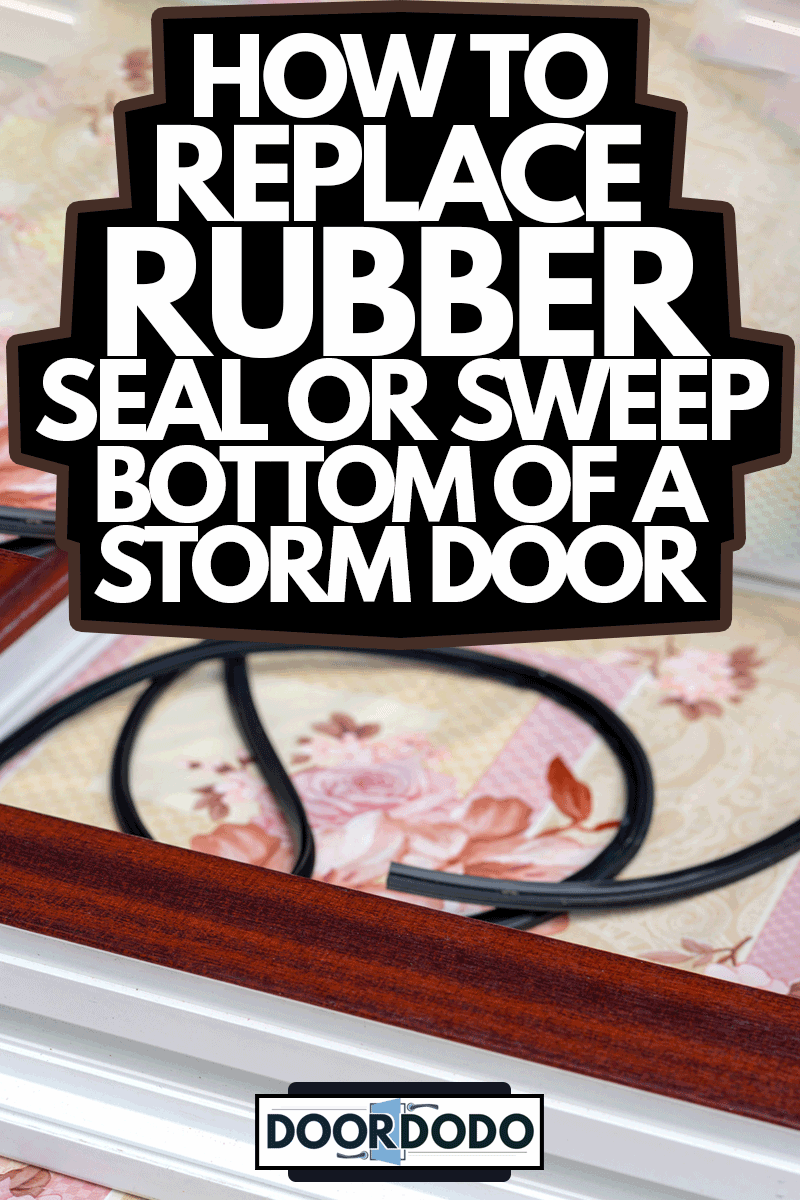
Do you need to replace your door sweep but you're hesitant to do it because you're afraid that you'll damage your storm door? Don't risk drafts or moisture getting inside your house. Here are the steps on how to replace the rubber seal on the bottom of your storm door, straight from the experts.
To replace the door sweep of your storm door, you need to:
- Remove the old door sweep.
- Clean the bottom of the door.
- Insert the new door sweep into the groove.
- Trim off the excess, if there's any.
- Crimp the metal edges at the bottom of your door to keep the door sweep in place.
Keep reading so that we can guide you through each step as you have your door sweep replaced. We'll also tell you if you can replace it without removing your door, how to install one, and how to adjust your storm door's sweep. Let's start!
Replacing the Door Sweep of a Storm Door
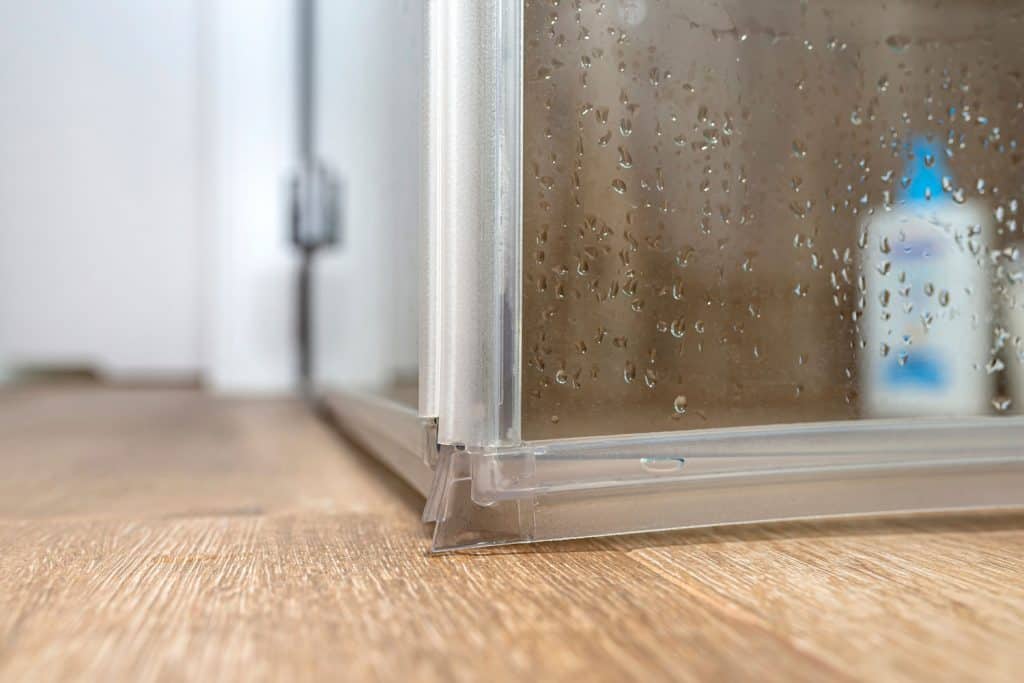
The rubber seal or door sweep on your door can be found around its bottom. This is essential in keeping your storm door properly sealed. It will effectively prevent bugs, dirt, water, moisture, and other unwanted particles from getting inside your home and causing damages.
The door sweep will also intercept drafts. You won't be bothered by hot or cold air coming from the outside and it'll help maintain the temperature inside your house at a comfortable level. And best of all, your home is more energy-efficient. This means you get to save on your energy bill!
That's why it is important to have the rubber seal at the bottom replaced immediately once it is damaged or when it is already worn out from years of service to your home.
There are two kinds of seals at the bottom of a storm door. One is a simple sweep. It is a rubber seal that isn't enclosed inside an expander. It is simply attached to the bottom of the storm door. The other one is an expander. It has a metal casing and the sweeps are molded inside.
Here are the steps on how to replace them.
Replacing a Simple Sweep
- Grasp the rubber seal at one end of the door and pull it out from its groove. You might need to use pliers if the rubber is attached too tightly.
- Clean the bottom side of the storm dorm.
- Slide the new door sweep into the groove until it reaches the other edge of the door. Tip: Putting a small amount of liquid dish soap will make this task smoother.
- Trim off any excess.
- Using your pliers, pinch the metal at the ends of the bottom of the door to secure the sweep in its place.
Replacing a Door Sweep with an Expander
- Loosen the screws that keep the expander in place.
- Measure the expander and buy one with the same length.
- Install the new expander in place by sliding it along the bottom of the door. Tip: You can lightly spray some liquid dish soap on the expander so that it'll slide effortlessly.
- Screw the expander in place.
Easy, right? So, next time you see that your door sweep is falling to pieces, just purchase a suitable replacement and you can have it installed in no time.
Can you replace a door sweep without removing the door?

As seen in the above steps, replacing a door sweep is an easy process. Replacing it doesn't even require you to remove your storm door from its hinges.
You just need to prop it open with the help of its closing mechanism. Put the door closer's washer near the tube so that it will stay open while you work on replacing the old door sweep with a new one.
However, this is only applicable when you have slide-on, snap-in, wrap-around, or L-shaped door sweeps. If you have a staple-on door bottom, you would need to remove the door before you can have it replaced.
This type of door sweep is usually found among wood storm doors. As the name implies, you would need to staple the rubber seal along the bottom side of the door.
You would also need to apply caulk or adhesive to make sure that it stays in place. These steps would be hard to do without removing the door from the hinges.
This is why it is important to check which type of door bottom you have on your storm door before you proceed with the task.
How do you install a new door sweep on a storm door?
Installing a door sweep to your new storm door would require the use of some tools and basic carpentry skills. But as mentioned earlier, this is a crucial component of your storm door.
Without a door sweep or door bottom, you risk having cold air, heat, water, moisture, dirt, and other particles getting their way inside your house that could lead to a major headache later on.
Here are the basic steps to follow when installing a new door sweep.
Tools and materials to prepare:
- power drill
- drill bits
- driver bits
- hacksaw
- scissors
- tape measure
- pencil
Procedure:
- Get the measurement of the bottom of your door. Include the door stops if you have any.
- Get your new door sweep and transfer the measurement that you got on its surface. Mark it with a pencil.
- Use the hacksaw to cut through the aluminum part of the door sweep. Stop when you reach the sweep insert portion.
- Use your scissors in cutting the sweep insert.
- Now that you have trimmed the door sweep to the size that you need, you can mark where the holes for the screws should go.
- Close the storm door. Position the door sweep against the bottom of the door so that you can locate the holes. Mark the center of the oval holes so you have room for adjustment later on.
- Drill pilot holes.
- Attach the door sweep to the bottom of the door and screw it in place. Do not tighten the screws too much to avoid damaging the aluminum.
- Open and close your storm door to check if the door sweep is working properly. It shouldn't leave any gap between the bottom of the door and the threshold but it shouldn't cause the door to stick or catch also.
- Make adjustments as needed. You can loosen the screws and slide the door sweep in either direction then tighten the screws when you've found the perfect position.
That's how to install your storm door sweep all by yourself. But of course, if you're not confident about your DIY skills, we advise that you contact your trusted carpenter instead.
How do you adjust a storm door sweep?

Sometimes all it takes to get rid of the drafts is adjusting your storm door sweep. Or it could be that your storm door is dragging or sticking to the floor each time you use it.
Some storm doors have an adjustable door sweep that'll solve this problem in no time with just the help of a putty knife and screwdriver.
Here's how to do it:
- Open your storm door.
- Loosen all the screws on the interior side of the door sweep.
- Close the door gently. Pay attention not to damage the door sweep.
- Adjust the height of the door sweep. If it is sticking to the threshold, you need to raise it a little. If there are drafts or gaps, you need to lower the position of the door sweep.
- Once you've achieved the right height, retighten all the screws.
- Open and close your storm door to check if the door sweep is at the right height. There shouldn't be any gaps nor should there be any sticking whenever you open it.
There you have it! That's how to adjust the height of the door sweep so that it'll work properly and efficiently.
Final Thoughts
Replacing the rubber seal at the bottom of your storm door is so easy. Don't hesitate to do it if you see that it's already worn out or damaged. You'll thank yourself for doing so as it'll help you keep unwanted particles from making their way into your home.
To read more about storm doors, you may visit the following links:
Do Storm Doors Keep Water And Cold Air Out?
How To Clean A White Aluminum Storm Door [Including Screens & Glass Panels]