A gap between the sliding and dog doors can lead to efficiency issues, especially for the home’s insulation. So how can you seal the gap between those doors? We researched this inconvenience for you and found the following answer.
Repairing a gap between a dog and a sliding door has different solutions. However, the ideal technique to apply often lies in the source of the problem. For instance, here are the steps to seal spaces between dog and sliding doors by repairing misalignments:
- Remove the dog door from its mount.
- Tap the misaligned regions with a rubber hammer.
- Reinstall and secure the dog door to the sliding door setup.
Take note that realigning the dog door isn’t the only solution to this issue. So continue reading as we talk about other techniques you may use to remove the gap between a sliding door and a dog door.
How Do You Fix A Gap Between The Sliding Door And Dog Door?
Sealing the gap between a sliding and dog door is possible by applying weatherstripping to that open space. Certain dog doors may have included weatherstripping tape in their packaging for the convenience of their customers.
However, if the gap is quite large, weatherstripping tape might not fix the issue.
So keep reading this section to learn about other solutions that may help seal the gap between your sliding and dog doors:
Align The Dog Door
Improper installation might misalign the dog door, resulting in a gap between it and the sliding door. So here are the general steps to help realign the doggie door and help seal its installation:
What You’ll Need
- Screwdriver
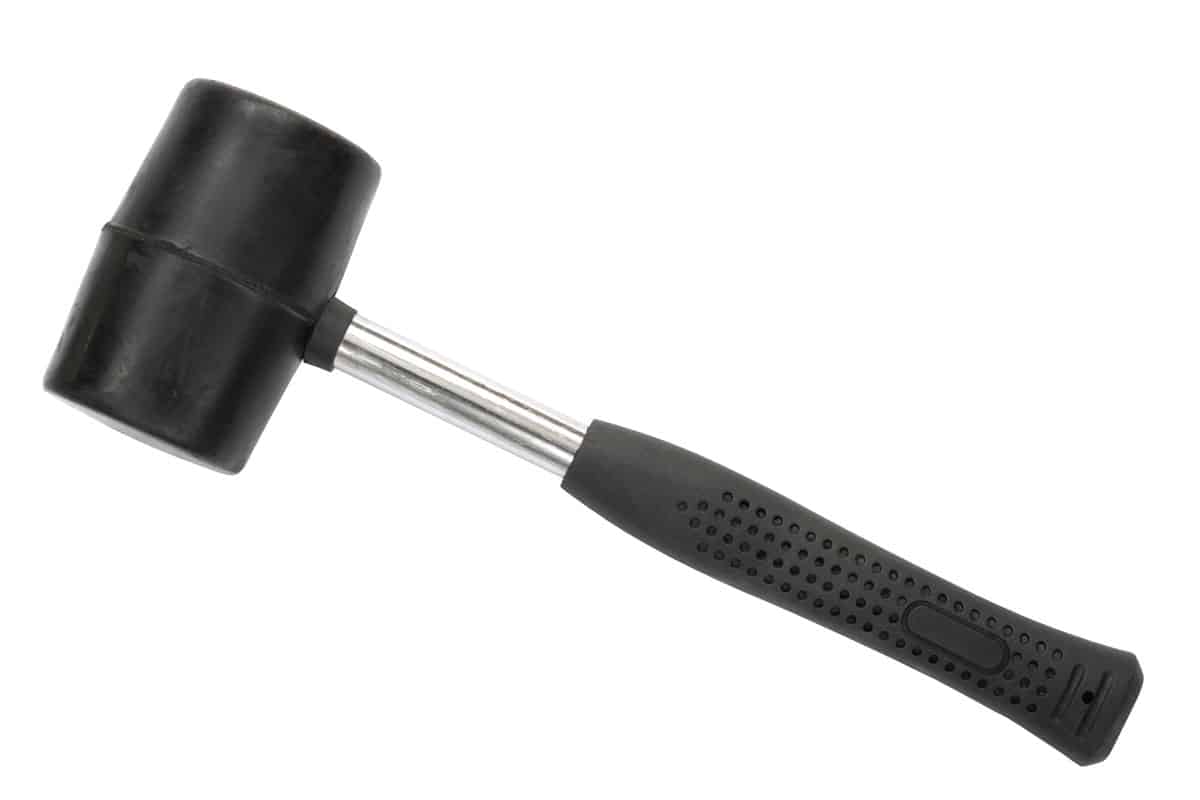
- Rubber hammer
Step-by-Step Guide
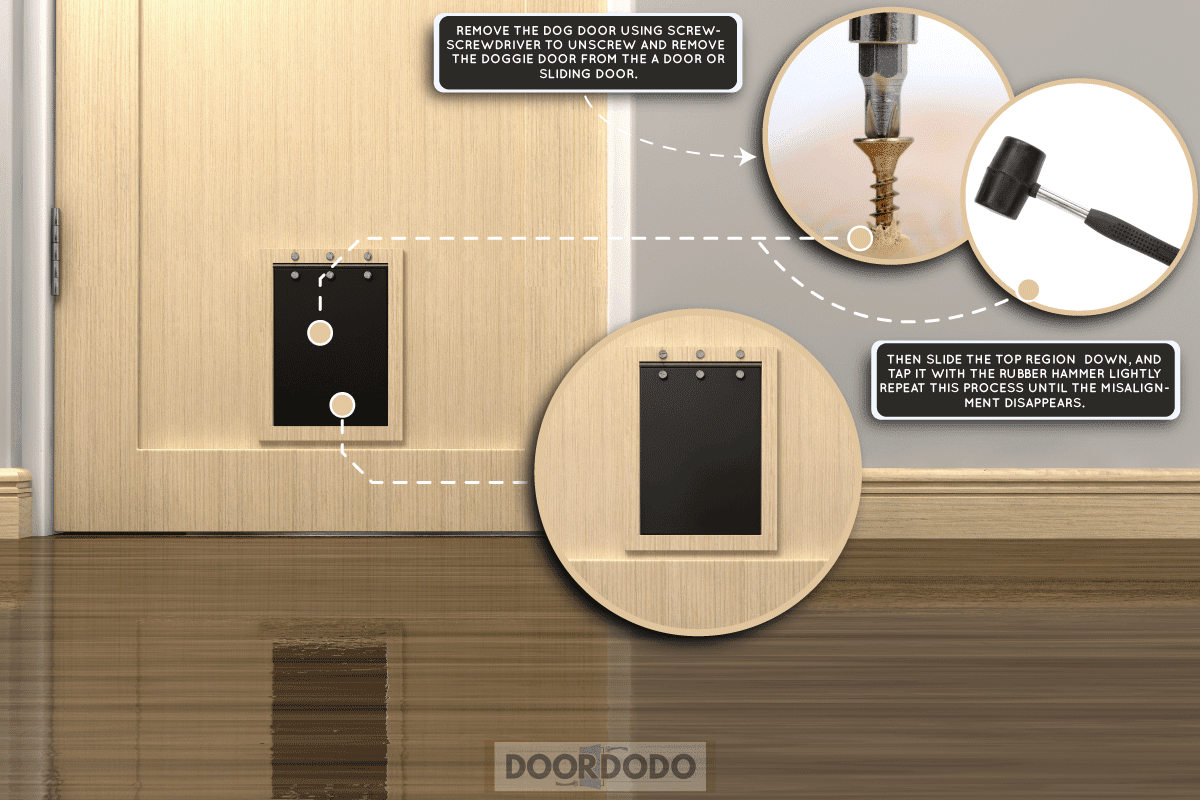
- Unscrew and remove the doggie door from the sliding door.
- Place the dog door on a clean and flat surface.
- Undo the screws at the top of the dog door. Remove the top panel afterward.
- Slide the top region down, and tap it with the rubber hammer lightly.
- Repeat step 4 until the misalignment disappears.
- Return the top panel and secure it with its screws.
- Reinstall the dog door to the sliding door to check if the issue persists.
Take note that this particular process may not apply to the specific dog door model in your possession. Nonetheless, you can also watch the video below to see a visual guide of the steps mentioned above and to help give you an idea of how to complete this operation:
Install The Correct Dog Door
Sometimes the gap may not disappear regardless of the minor modifications you do to the dog door. Perhaps the main cause of this issue originates from the doggie door's size being incompatible with your sliding door.
If so, the first step to eliminating this problem is to purchase a correctly sized dog door. You can check out a later section in this post for a quick guide on how to buy a doggie door with the appropriate dimensions.
Next, check the instruction manual that typically comes with the installation kit. Keep in mind that different dog door models may have varying installation procedures. Take note of the guidelines imposed, and you can prevent gaps and other issues with the setup.
Still, here are the typical steps to install a dog door into a sliding door to give you a general idea of how to complete this procedure:
What You’ll Need
- Vacuum cleaner
- Hand drill
- Screwdriver
- Pet door installation kit
Step-by-Step Guide
- Clean the sliding door track.
- Repair any alignment issues with the sliding door.
- Place the pet door over the sliding door’s track.
- Place the top bracket included in the pet door kit into the desired position on the sliding door’s track.
- Mark the areas for the pilot holes with the bracket as a guide.
- Drill the pilot holes. Then, install and secure the bracket into place.
- Repeat steps 3 to 5 for the bottom bracket.
- Open and close the sliding door to check for alignment concerns. Fix any misalignments found before proceeding to the next step.
- Install the flap to the pet door’s frame according to the manufacturer’s instructions.

Check out this dog door on Amazon.
Check out the video below to gain additional insights into this procedure. Although the video highlights the installation of a pet door for cats, the process should still be similar when setting up dog doors into sliding doors:
At this point, you might also be thinking about installing a dog door in a cinder block wall. If so, read our post highlighting that concern to know the steps to follow:
How Do You Seal A Doggie Door?
Bear in mind that unsealed doors, including doggie doors, can promote concerns like:
- Increased energy costs
- Increased carbon footprint
- Reduced insulation
- Insects and other pests entering your home
After taking note of those particulars, here are the typical steps to seal and winterize your dog’s door:
What You’ll Need
- Tape measure
- Plywood
- Hand or circular saw
- Foam board insulation
Step-by-Step Guide
- Measure the dog door’s length and width.
- Cut plywood to size, and make sure its dimensions are slightly larger than the pet door’s size.
- Cut a piece of foam board insulation to a similar size to the cut plywood.
- Attach the insulation to the plywood.
- Remove the flap from the dog door and place the plywood into the opening.

Check out this foam board insulation on Amazon.
Take note that this procedure won’t allow entry or exit for your dog through the pet door. That means that you’ll need to remove the seal before your dog can use the doggie door.
Also, check out this video to see a visual representation of the steps mentioned above:
Aside from this procedure, you can also seal a doggie door with other techniques like:
- Seal gaps and holes with silicone caulk
- Reinforce the setup with a heavy-duty curtain
- Install magnets to the flap on the doggie door and the human-sized door
- Install a second dog door flap if the setup can handle the extra material
How To Prevent Gaps Between Sliding And Dog Doors?
Installing a correctly sized dog door is essential to prevent gaps from appearing from the assembly. So here are some of the important factors to think about as you find the right dog door for your sliding door:
- Pet’s height: Allow your dog to stand straight and measure him/her from the floor to the point below his/her neck.
- Step over height: This element shouldn’t be over 1/3rd of your dog’s height.
- Door height: The fixture should be at least 1 inch taller than the dog’s height.
- Dog door width: The doorway's width should allow the pet to enter and exit the premises without getting hit by the frame.
Here’s a video if you need extra help with measuring your dog for the animal’s door:
Also, take note that following proper precautionary measures can help in preventing harm to your doors, especially for screen doors. Read our post on how to keep people and dogs from walking through screen doors to learn additional information about that particular topic.
Final Words
Remember, you might be able to seal the gap between a dog and a sliding door by applying weatherstripping to the space. Fixing alignment issues could also solve this problem. Otherwise, you may need to purchase a dog door with the correct dimensions for your sliding door setup.