You’re about to install a new shower door. But now you’re thinking if you need to anchor the structure to studs. So we researched this concern for you and here’s the answer we found.
Not every shower door type requires studs. But glass shower doors often demand installation by anchoring them to studs. Otherwise, the wall might not have sufficient sturdiness to carry the weight of the door, putting it at risk of misaligning or crashing down.
So continue reading as we talk about shower door installations in greater detail. Take note that we’ll discuss different methods, including an installation procedure that doesn’t require studs.
How Do You Anchor A Shower Door?
Anchoring a shower door may not require studs. But glass models often require installation by supporting them on studs. Also, take note that the steps to set up the anchor generally depend on its design.
Here are some quick step-by-step guides for two of the relatively common anchors you might use to anchor a shower door:
Standard Wall Anchor
- Mark the location on the bathroom wall for the pilot hole.
- Drill the pilot hole with the appropriate bit.
- Place the anchor into the created hole.
- Pound the anchor with a rubber mallet until the fastener is flush.
Hollow Wall Anchor
- Mark the location on the bathroom wall for the pilot hole.
- Drill the pilot hole with the appropriate bit.
- Fold the ends of the hollow wall anchor.
- Insert it into the hole.

Check out this set of wall anchors on Amazon.
Keep in mind that some shower doors already have wall anchors in their installation kits. You can use these fasteners to anchor the fixture onto your bathroom wall’s studs. But make sure to follow the instructions provided as some of these models may require you to follow unique yet specific steps.
How Do You Install A Shower Door Without A Stud?
First, read your shower door kit’s owner’s manual. That way, you can identify the correct procedure to mount and secure the fixture without anchoring it to studs.
Here’s an example of a procedure to install a frameless glass shower door without the need for studs:
What You’ll Need
- Cloth or mat
- Tape measure
- Pencil
- Painter’s tape
- Hand drill with different bits
- Level
- Philips and flat-head screwdrivers
- Silicone caulk
- Suction cups
- Wooden shims
Step-by-Step Guide
Step #1: Preparing For The Installation
You may also need an assistant for this procedure. The individual can help you lift and support the shower door to achieve a proper alignment.
Also, lay all the materials and equipment needed for this procedure in a nearby safe location. That way, you won’t need to walk long distances to get the items you need for each step.
Don't forget to lay a cloth or mat on your bathroom floor. Dust and other particles may become airborne while doing certain steps. This item will help make cleanup easier as opposed to removing dirt from a bare bathroom floor.
Step #2: Measure The Centerline
Apply the painter’s tape or a low-tack masking tape to the shower opening’s midpoint. Next, mark the center of the tape and form a straight line from both ends of the tape with the help of the level. Repeat the same measurement process for the panel wall’s centerline.
Step #3: Mount The Wall Jamb
Place the wall jamb adjacent to the wall while following the correct orientation. Make sure to follow the measurements made in the previous step to ensure a proper alignment. Then, use a pencil on the wall jamb’s holes to mark the areas for the pilot holes.
Step #4: Drill The Holes
Remove and set the wall jamb aside temporarily. Then, use the appropriate drill bit to drill the marked areas on the bathroom wall. For example, use a masonry bit if you’re drilling holes in ceramic or porcelain tiles.
Step #5: Insert The Anchors And Install The Wall Jamb
Setup and inset the anchors using the steps mentioned in your shower door’s instruction manual. Apply silicone caulk to the wall jamb afterward. Next, place the jamb on the wall while ensuring that the holes follow proper alignment.
Step #6: Prepare The Hinges
Clean the area on the shower door where you’ll be installing the hinges. Don’t forget to wipe down the gaskets to ensure dirt doesn’t interfere with the fixture’s operations. If you used alcohol to clean these locations, allow the glass shower door to dry before proceeding.
Once dried, install the hinges onto the shower door while following the manufacturer’s instructions. Secure the hinges on the door using the accompanying screws.
Warning: Be wary of the hinges’ orientations. You may need to remove the hinges and reinstall them if you make a mistake with the placement.
Step #7: Install The Door Panel
Place wooden shims onto the shower door’s threshold. Then, lift and carry the glass door with the help of your assistant. Place the fixture on top of the shims for additional support. Next, slide the wall jamb assembly on the shower door to the wall jamb you installed earlier.
Measure the clearances of the shower door opening before continuing. If the clearances aren’t adequate, you may need to customize the door’s dimensions to make it fit.
After ensuring that the door fits the opening, drill side holes into the wall jamb in the marked locations. Insert screws into these newly drilled locations afterward. Then, test the door by opening and closing it a few times to ensure it doesn’t come into contact with nearby surfaces.
Step #8: Mount The U-Channel
Measure and cut the U-channel according to your shower door’s opening dimensions. Once the measurements are correct, drill holes in the U-channel and use those gaps to help you mark the locations on the opening’s centerline. Next, remove the U-channel and drill holes into those marked areas.
Apply silicone caulk onto the U-channel and set the component in place. Repeat these mounting steps for the rest of the U-channel assembly.
Step #9: Set The Glass Door Panel
Place the setting blocks included in the kit into the U-channel. Then, call your assistant again to help you with the glass panel insertion. Insert the door panel into the U-channel assembly afterward.
Next, install the door handle while following the manufacturer’s instructions. If you need help with the glass shower door handle installation, you can read our detailed guide for this particular procedure. Once you set the handle, add the drip vinyl at the bottom of the glass panel.

Check out this frameless swing glass shower door on Amazon.
One of the reasons why this procedure may not require studs is because the wall material in your bathroom might be sufficiently sturdy to hold the shower door's weight. Also, you can watch the video below for a visual representation of the steps mentioned above:
Is It Better To Have A Shower Door Or Curtain?
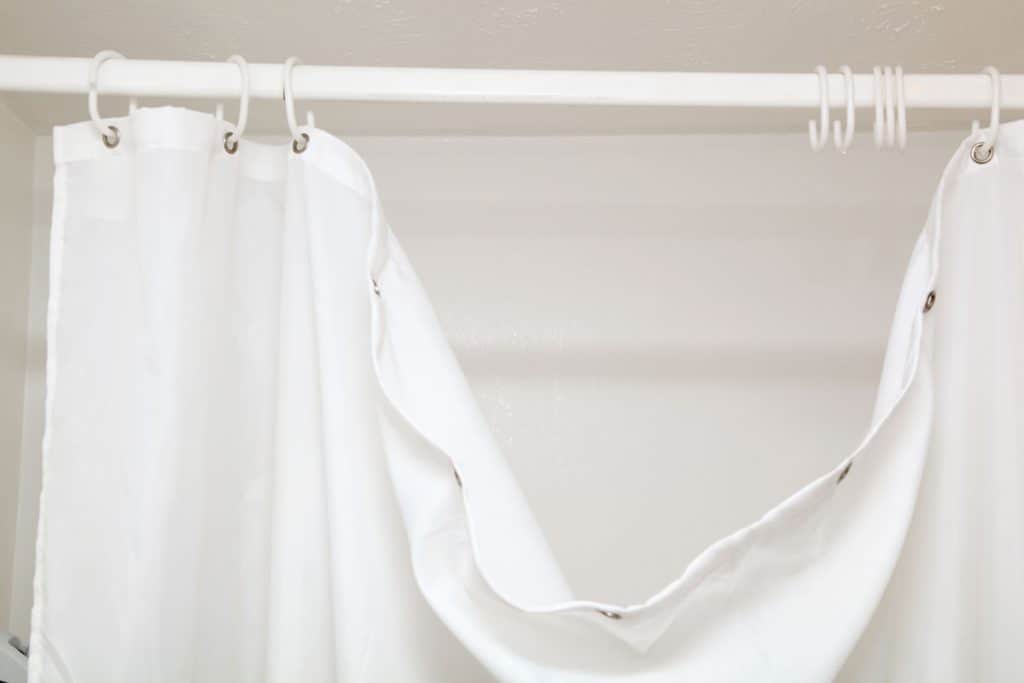
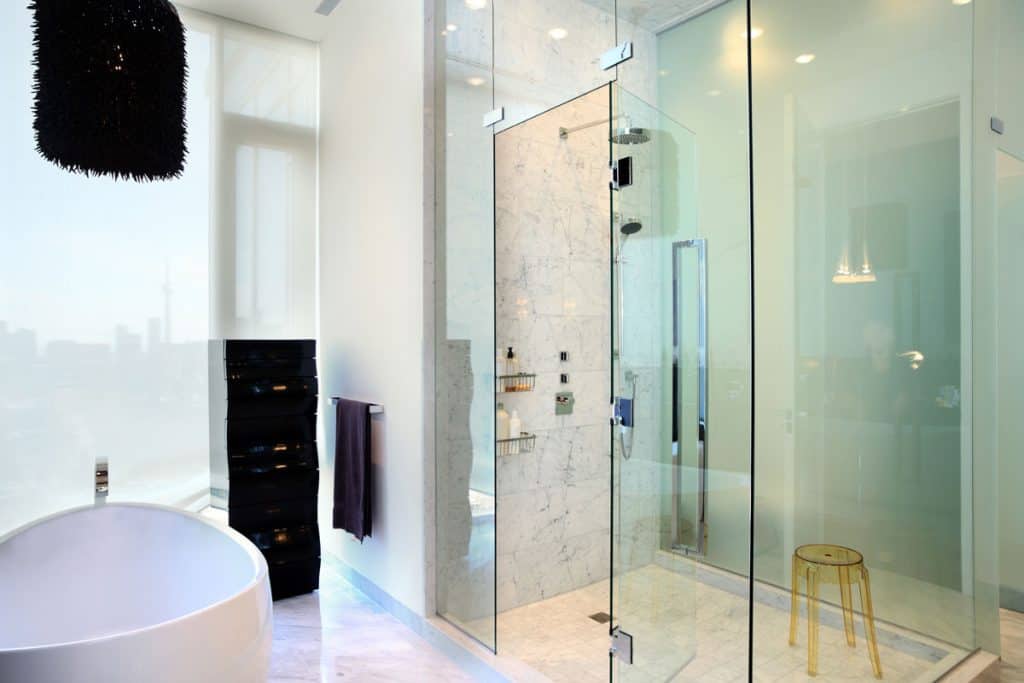
Shower doors and curtains promote distinct pros and cons to their users. For instance, shower doors are often sturdy and usually do better in preventing water spillage to the rest of the bathroom area than curtains.
On the other hand, shower curtains can be ideal options for homeowners following strict budgets. However, these materials may make water drip onto the bathroom floor, making it hazardous for standing or walking.
At this point, you might also be wondering if your glass door can break from the heat. If so, you can read our post regarding that concern so you can learn the answer.

Check out these sliding shower doors on Amazon.
Final Words
Remember, shower doors may or may not need studs. Check the product’s description and verify your bathroom door requirements before finalizing your purchasing decision.